Showing posts with label creations. Show all posts

Wednesday, July 4, 2012

Happy Birthday, America!

Hope you all have a safe and fun Fourth!


Today is a time for fireworks and fun
But we shouldn't forget it's reason.


This is one of the most important days
of the entire summer season.


Today's the day our nation became free
and the date of the country's birth.


For so many years we have grown to be
one the best countries on earth.


Poem by Sharon Hendricks


Thanks for visiting!
Leave a comment so I can get to know you.

Monday, June 11, 2012

How to Make Your Own Cupcake Stand

I'm so excited to share this relatively quick and easy project with you.


 As a lover of cupcakes ~ baking and eating ;o) ~ I have always wanted a pretty way to display those luscious, tiny round cakes.  
I've had a couple inexpensive stands that just did not hold up.  And being the cheap thrifty person that I am, I could never bring myself to pay oogles of money for a really nice one.


Well, after perusing the net one day a while back, I stumbled upon this great stand handcrafted at 
Shanty 2 Chic's blog.  


Isn't it just gorgeous??!!!!  
Click here to read how Ashley created this beauty.

It became my inspiration.  
The only hurdle was not having any of the proper woodworking tools to make it.  
No worries!

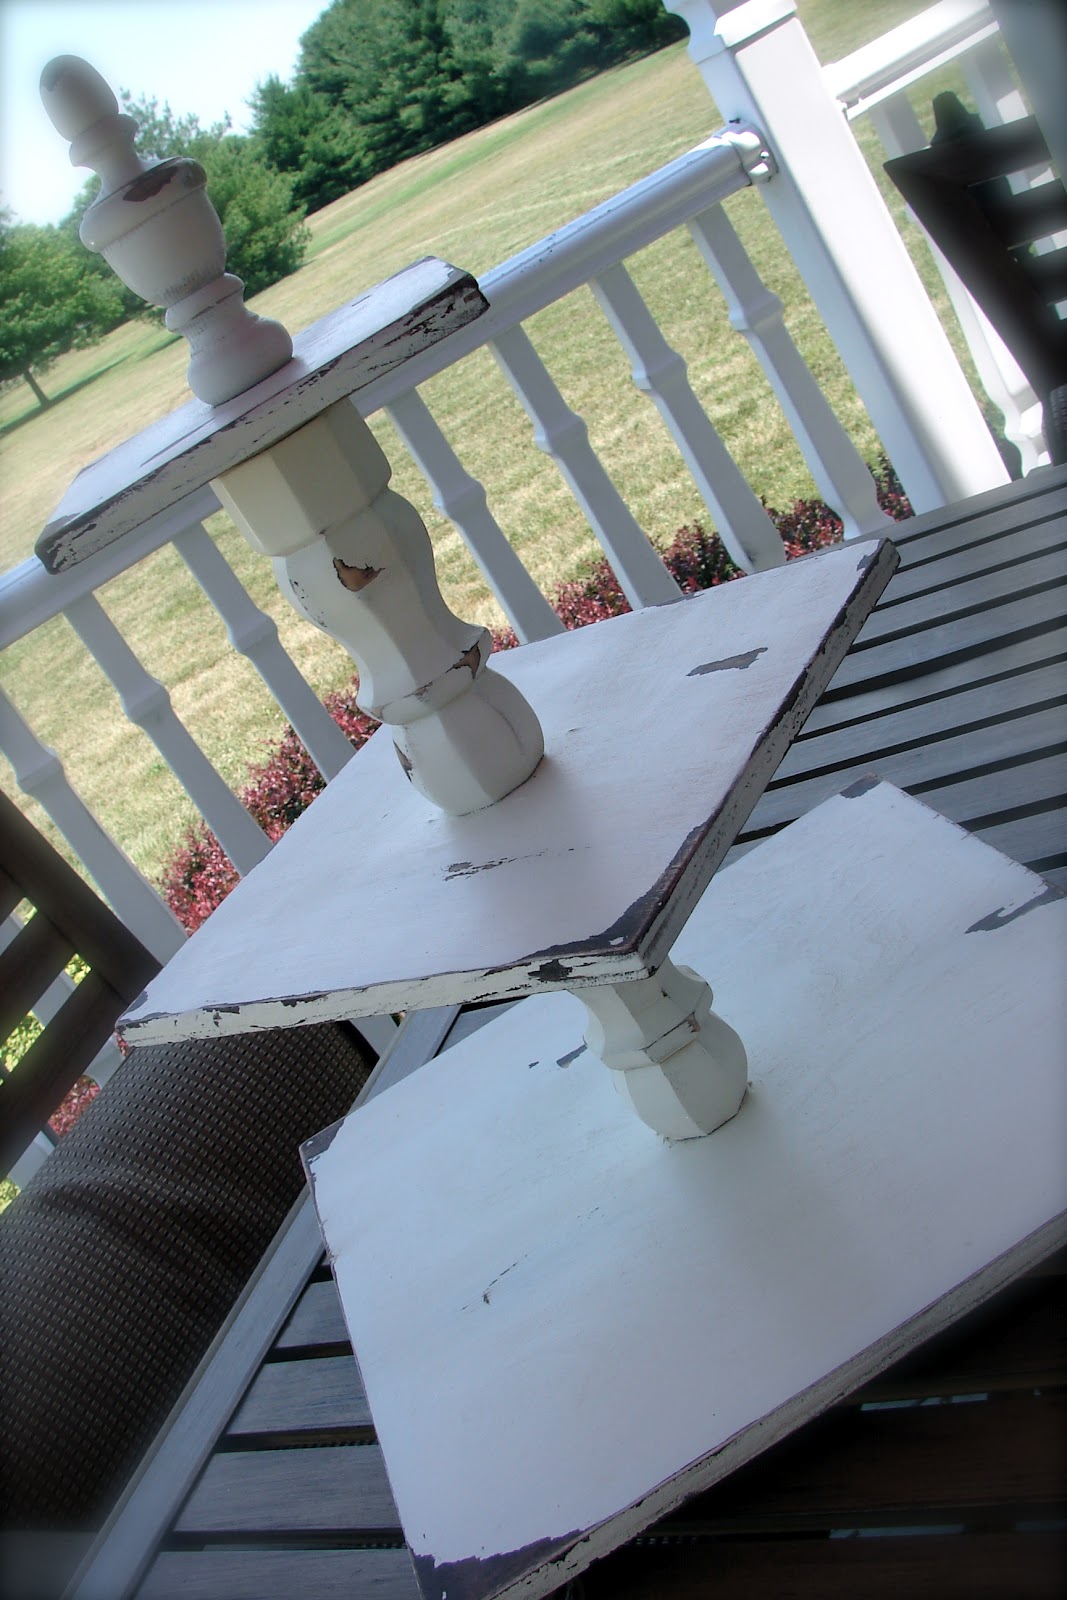
I made a trip to Lowe's, bought an appropriately sized piece of maple plywood, and asked the nice lumber boy to cut it into the sized pieces I needed ~ 6, 10 and 14 inch squares.  Another trip down the furniture pieces aisle and I grabbed a few chair legs with screw plates. I'll explain the reason for the screw plates in a bit.  And lastly, I grabbed  a decorative finial for the top.  The only other supplies needed were a few cans of spray paint, and a trip to AC Moore Crafts for small unfinished wood candle holders for the feet.


After tallying up the cost of supplies purchased, I estimated the entire project to be around $30.  
Not too bad!


I wish I could say I crafted this all by myself, but Hubby did attach the screw plates to the bottoms of the top and middle tiers; although, I sooo could have done it all by myself.  You know . . . he's a dude . . . and there was a bit of power tool usage needed for the project . . . so . . . he had to get involved.

Now, the reason for the screw plates and chair legs is, as you may have guessed, so I can break it down for storage if needed.  Pretty smart, huh?!


The rest of the project was all me.  I sanded, primed, painted, distressed, antiqued, etc.  Speaking of antiquing, I used the vaseline technique to antique it.  


Again, refer to Shanty 2 Chic's blog for a tutorial on that method.  No sense reinventing the wheel here since they've done a great job explaining it on their blog.


It really was a very simple project.  Oh, I think I would have loved for it to be round, but not having the proper tools to make it round, I think it looks pretty okay being square.  Besides, everyone has a round cupcake tower, so mine is a little different :o)


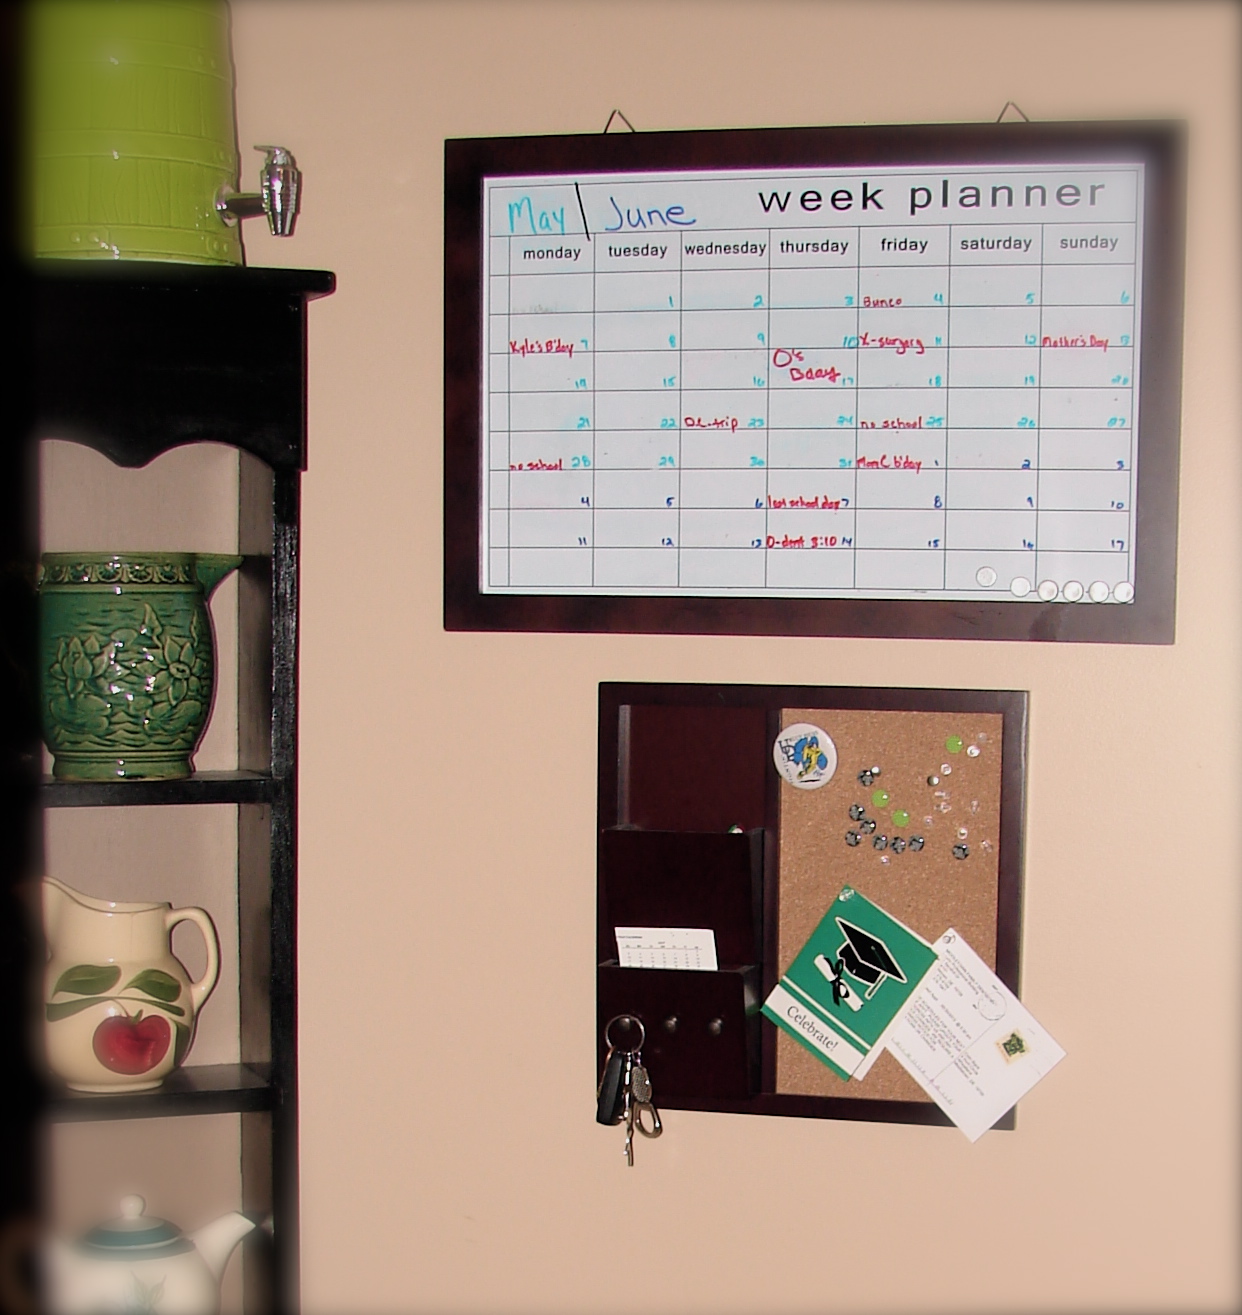
And, when it's not displaying yummy cupcakes, I can use it as cute centerpiece, or in this case on my hutch decked it out with some beachy-inspired elements.


I was able to get this stand finished for my niece's bridal shower this past weekend.  She seemed a little disappointed that it wasn't hers to keep, so I think I'm going to have to whip one together for her.  


Thanks for visiting!
Leave a comment so I can get to know you.

Saturday, June 2, 2012

Upcycled Crib Spring

This is something I've wanted to do for a while now.  


Upcycle the crib springs from the crib all three of my boys used.  Along with so many of you I'm sure, I first saw this idea at Funky Junk Interiors.  


Funky Junk Interiors
I just love Donna's style and creativity with junk!

When I saw that post, I knew immediately I wanted to copy it.  Of course, Hubby thought I was nuts!
  
"What?! Crib springs on the wall?  I don't think so."


Well, I finally did it.  I have an area in the kitchen that's near the back hall that leads to the powder room, laundry and garage door.  It's kind of dead space that we've been talking about for years having a shallow custom shelving unit built there.  As you can see, still waiting on that.  


Anyway, I've had a variety of different things in this space and on the wall.  The last thing I had was a dry erase calendar and a small tack board with organizing slots and hooks for keys, etc.  


Well, it just wasn't really working.  I could never really get the calendar clean of the marker, the little tack board was never really used and only Son No. 1 would hang his keys on the hooks.


Down it all went one day, and up went the springs.  I thought about painting the springs, but for now I'm going to leave them as is.  And, I haven't done anything fancy on them like Donna from Funky Junk Interiors did, or all the others whose pics I've saved for inspiration.  

I was truly amazed at all the cool ways people have used these old crib springs.  I'm sharing my collection of inspiration pictures.  I wish I would have made note of exactly where I found these pics on the web.  I wasn't originally saving them to share, but for my own inspiration.  So, if any of the pics belong to you, or you know who they do belong to, please let me know so I can give credit.

Oh, and guess what, I think Hubby doesn't mind the springs too much now that it's on the wall.  As a matter of fact, he suggested I paint it antique white ;o)  


Junk Sophisticate 

Aren't they great ideas and uses for something that would be otherwise tossed into the landfill.  I think it's not only a useful way to reuse something that would be trashed, but it also adds detail and dimension to a wall, and it's a pretty cool conversation piece!


Thanks for visiting!
Leave a comment so I can get to know you.

Wednesday, May 23, 2012

Bloomin' Beauties


Can I just say I am so tickled at how nice my garden looks right now.  It usually looks pretty good this time of year, and by mid to late summer it seems to all go to . . . well, you know . . . 


By that time, 'round here, the heat and humidity, lack of rain, or in some years too much rain, and my just not being able to stand the late summer heat to weed, water and generally care for the plants/flowers, makes my garden look just darn nasty.


I have been spending a bit more time than normal this spring trying to get the perennial garden in good shape.  And I think it's paying off.  I'm really hoping I can keep it up and have it look good all year long.  At least mostly weed free and hydrated!


My most favorite flower in the whole wide world is blooming now. Peonies.  Oh, I love their fragrance, their shape, even the way their petals feel, all silky and smooth.  Actually, they're starting to wind down their blooming a little.  I wish they bloomed just a little longer.  


I try to really appreciate them when they are blooming by stopping by their bushes and taking in nice long sniffs, and cutting some to bring inside.  


They're even gorgeous before the blooms pop open!


One of the best bangs for your gardening buck below . . .


 Knockout Roses.


Above is the view of the perennial garden from the pond area next to our deck, with just a corner of the vege/cutting garden visible.  That's what I worked on this past weekend - getting my veges planted. Can't wait for garden fresh tomatoes!


The view from above is what I get to see when I'm sitting on the couch in the family room.  I love this view best of all.  It really shows off all that's blooming now.  Pretty soon, I'll have Rudbekia, or Black-Eyed Susans, Coreopsis, and Stella D'Oro lilies blooming.  

It's definitely a challenge to make sure there's at least a few things blooming in the garden all season long. But, I would have to say, that my spring/early summer bloomers are my favorite!


I'm super-excited to be sharing my garden for the first time this season at
Ms. Jean's linky party, Bloomin' Tuesday
and
Tracie from Fishtail Cottage's
Cottage Garden Party

Be sure to pop over at both blogs and check out some other great gardens.


Thanks for visiting!
Leave a comment so I can get to know you.
Related Posts with Thumbnails